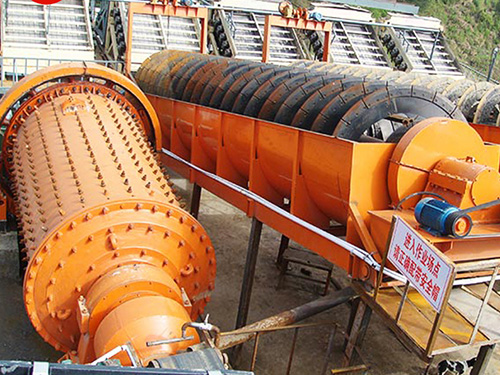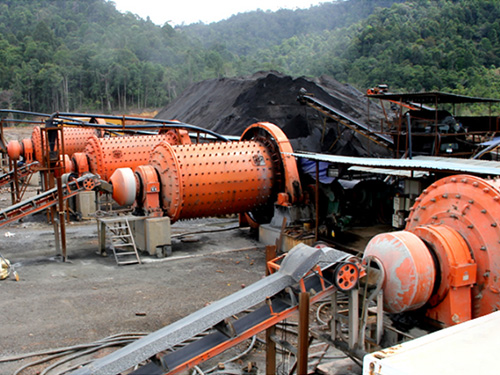
A ball mill is the backbone of any mineral processing or cement plant. But when it starts shaking violently, it’s more than a nuisance—it’s a warning. Excessive vibration leads to liner fatigue, bearing failure, and unscheduled downtime. Fortunately, most vibration issues can be diagnosed and fixed without replacing the entire mill.
Top 4 Causes of Ball Mill Vibration
1. Uneven Ball Charge or Segregation
An unbalanced grinding media distribution creates a rotating mass imbalance. When larger balls gather on one side, the mill shifts its center of gravity, producing rhythmic “thumping” vibrations.
2. Worn or Damaged Gears (Girth & Pinion)
Misaligned or worn gear teeth cause impact vibrations. You’ll hear a sharp, metallic noise every rotation. This is common when lubrication fails or backlash isn’t properly set.
3. Unstable Material Feed (Too much or too little)
A “hungry” mill (underfilled) allows balls to slam into the liner directly. An overfilled mill creates slurry packing, forcing the charge to stick and release suddenly—causing erratic low-frequency shakes.
4. Loose Foundation or Mounting Bolts
Over time, cyclic loads loosen anchor bolts. The mill then “walks” on its foundation, generating persistent high-amplitude vibration that can crack concrete bases.
How to Fix Ball Mill Vibration (Step by Step)
Step 1: Inspect the Grinding Media
Perform a mill stop and measure the ball charge level across compartments. Recharge balls evenly using a ball loader. Correct segregation by adding smaller balls to fill voids.
Step 2: Realign the Drive System
Use a laser alignment tool to check the pinion-to-girth gear alignment. Verify backlash (typically 2-4 mm for heavy-duty mills). Replace worn gears immediately—delaying this step multiplies damage.
Step 3: Stabilize the Feed Rate
Install a weigh feeder or audio-based fill-level sensor. Maintain a consistent mill load (e.g., 25%-35% of mill volume for most ores). Avoid start-stop feeding patterns.
Step 4: Retorque Foundation Bolts
Inspect anchor bolts weekly. Retorque to manufacturer specs (often 70-80% of bolt yield strength). For concrete cracks, use epoxy grouting or replace the foundation pad.
Preventive Measures
Vibration monitoring system: Install accelerometers with alert thresholds (e.g., >5 mm/s warning, >8 mm/s stop).
Lubrication schedule: Change gear oil every 3-6 months.
Monthly liner check: Uneven wear often precedes vibration spikes.
When to Call a Specialist
If vibration exceeds 12 mm/s RMS or persists after re-torquing and recharging, you may have a cracked trunnion or a bent mill shell. Perform a dye-penetrant test or thermography before restarting.
Ball mill vibration is not a mystery—it’s physics. Unbalanced charge, worn gears, erratic feed, and loose bolts cause >90% of field issues. Follow this systematic fix guide to reduce downtime, extend liner life, and keep your grinding circuit running smoothly.
Need expert support? Contact our service team for on-site vibration analysis.